Key Takeaways
- There are 6 steps to laying sod: measure the space, purchase the sod, prep the soil, lay the rolls, level the sod, and water the sod
- Post-installation care includes watering, avoiding foot traffic, checking for lifting and odd spots, checking for root establishment and growth, mowing, and fertilizing
Steps to Laying Sod

1. Measure the Space
The first thing you need to do before anything else is measure the area in which you want to lay down sod. If your yard is large, it’s best to break it down into sections.
Measure the width and length of each section in feet, multiplying them to find the square footage. Then, add the square footage of each section up to determine the total area.
2. Purchase the Sod
When purchasing sod, it’s recommended to buy 5% to 10% more than the total area calculated. This will account for any errors in measurement and provide a buffer for trimming edges.
In terms of the sod itself, the type you should buy will depend on a few factors. Whether you live in a colder or warmer climate will determine if you get cold-season or warm-season grass. Other factors include the amount of sunlight your location receives, the level of maintenance you want to provide, and your intended use.

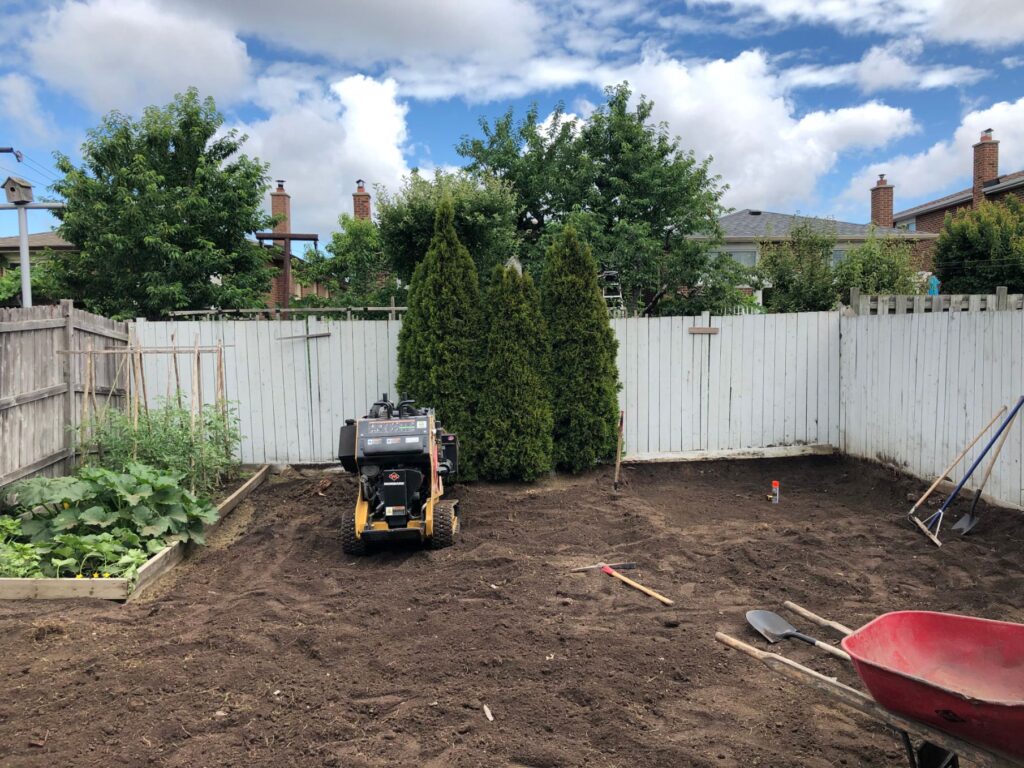
3. Prep the Soil
Before sod can be installed, the soil should be tilled to a depth of 4 to 6 inches to help the roots of the sod grass grow. Make sure that the soil is evenly spread out without any mounds or low spots present. Sprinkle some water on the soil to moisten it.
If you’re planning to lay sod beside a concrete driveway or walkway, the soil should be 1 to 2 inches lower than the concrete because the sod is likely to dry out and die if not.
4. Lay the Rolls
When it comes to how to put sod down, your first roll should be laid along the longest straight edge of the space. After this initial roll, all subsequent rolls should be laid in a brickwork pattern, staggering the seams to avoid water channels from being formed. Make sure not to leave any gaps, installing the pieces tightly together.
Use a sharp knife to trim the edges, cut around sprinkler heads if you have any, and contour the shape of the sod to line up with the driveway or curb.


5. Level the Sod
Use a lawn roller to level the sod. This will remove any air pockets and ensure that the sod properly attaches to the soil.
6. Water the Sod
Your new sod should be watered immediately after installation to help it stay fixed to your lawn. Water until 1 to 4 inches of the soil is moist.


How to Care for Your New Grass Installation
Your new grass installation should be carefully maintained post-installation for the best results. Keep in mind the following tips:
Final Thoughts
Throughout this article, we have outlined how to install sod grass and offered tips for maintaining your new sod after it is installed. At Sodding GTA, we are here for all of your sodding needs and can provide you with efficient and effective sodding installation. For more information, contact us today!
FAQ
If your soil is prepared properly, then sod can be laid at any time. It’s better, though, to avoid sodding during extreme weather like after thunderstorms or heavy snowfall, as well as when it is very hot and dry. Ultimately, the best time to lay sod would be during the spring or early fall because of the cool temperatures and good amount of rain.
No, sod should not be laid over existing grass. This is because having existing grass underneath new sod will prevent the sod roots from connecting to the soil and reduce the amount of water and nutrients that it can access, which would result in the decay and death of the sod.
Sod turning yellow is typically caused improper watering or overfertilization. To fix this, make sure that you maintain a consistent schedule for watering, that you are not overwatering, and only apply a small amount of starter fertilizer.